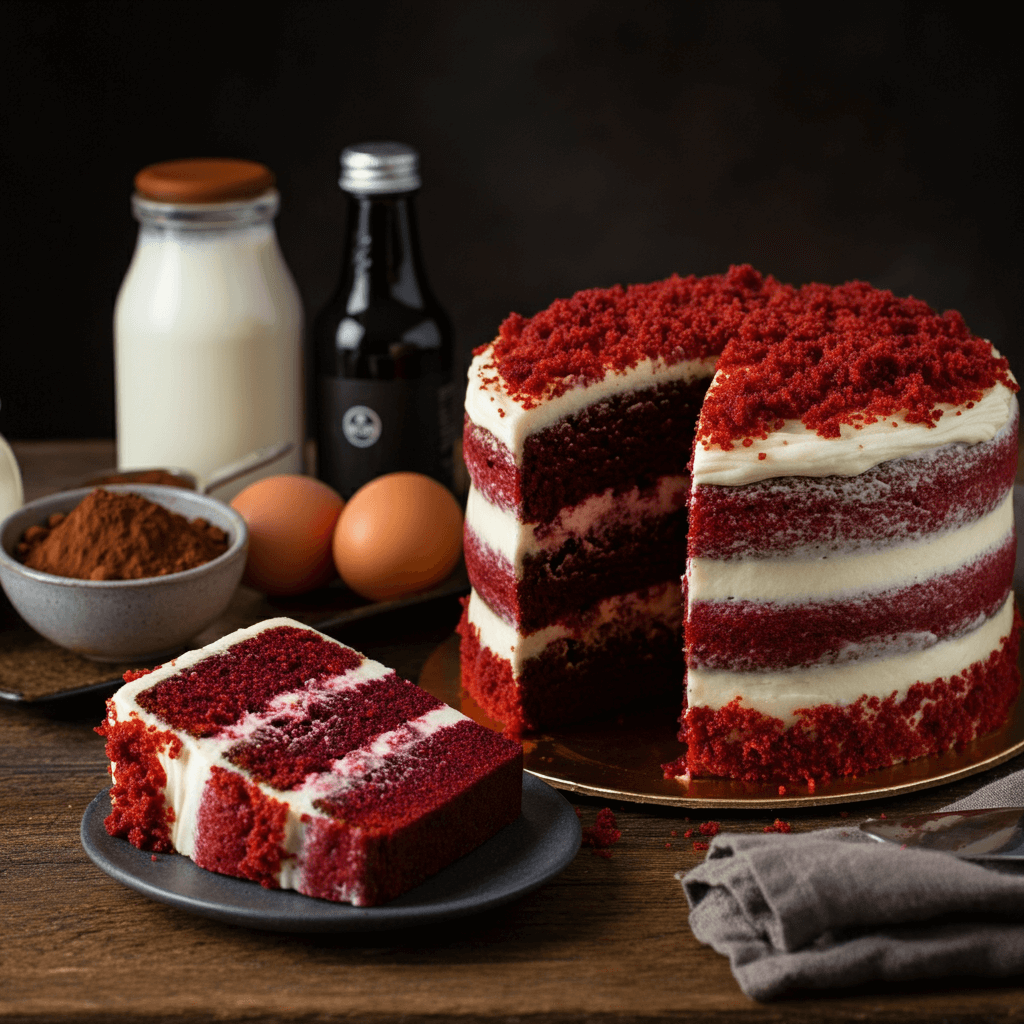
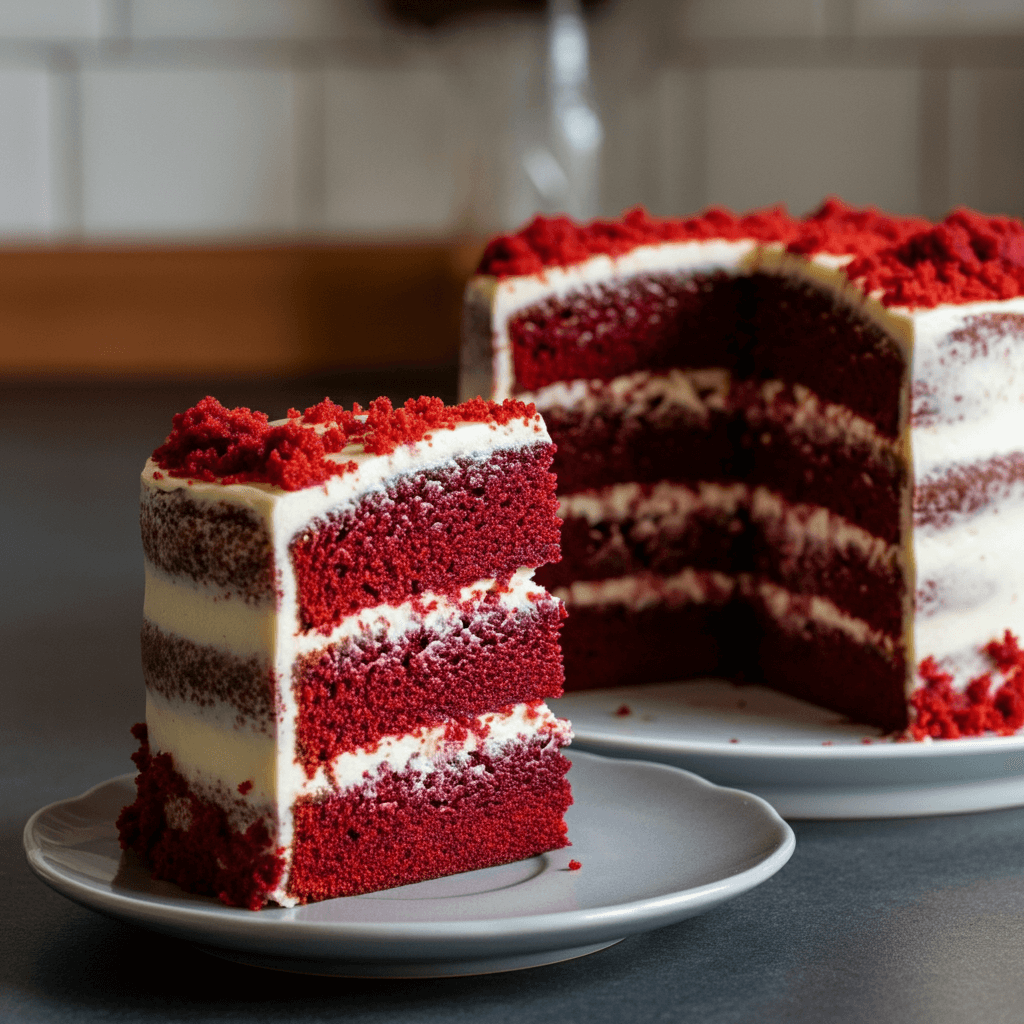
Is there a dessert more captivating than red velvet cake? Its vibrant red hue, soft crumb, and luscious cream cheese frosting make it the star of any celebration. If you’ve always wanted to master this showstopping cake, you’re in luck!
Today, we’ll guide you through a foolproof recipe that’s perfect for beginners and experts alike. Plus, we’ll uncover its fascinating history, the role of its key ingredients, and clever tips to perfect your baking game. Get ready to bake a cake that’s as delightful to eat as it is to make.
Table of Contents
The Story Behind Red Velvet Cake
Before we jump into the recipe, let’s take a moment to explore red velvet cake’s past. This charming dessert can trace its roots back to the late 19th century. It first emerged as a “velvet cake,” known not for its color but for its soft, velvety texture. The red tint we love today became popular during the 1940s, thanks to food coloring and a marketing push by the Adams Extract Company. Fun fact for a little dinner table trivia—red velvet cake’s slightly tangy flavor originally came from the reaction between buttermilk and cocoa powder!
Fast forward to today, and red velvet cake consistently ranks as one of America’s favorite desserts, often topping lists like “Best Desserts for Celebrations.” It’s not just a treat; it’s a piece of culinary history that continues to charm bakers and eaters alike.

Must-Know Ingredients and Why They Matter
Wondering what makes red velvet cake stand out from other cakes? The answer lies in its not-so-secret ingredient list. Here’s a breakdown of the essential ingredients and their roles in creating the perfect cake.
- Cocoa Powder
Though not dominant, cocoa powder gives red velvet cake its subtle chocolate undertone. The small amount (usually about 1-2 tablespoons) adds depth to flavor without overpowering. - Buttermilk
Buttermilk is the unsung hero of red velvet cake. Its slight acidity not only tenderizes the cake but also reacts with baking soda to create that fluffy, airy texture we all love. No buttermilk on hand? Mix a tablespoon of vinegar or lemon juice into a cup of regular milk, and you’re good to go! - Vinegar
A dash of vinegar may seem odd in a dessert, but trust us, it’s vital. It interacts with the cocoa and the buttermilk to intensify the red color naturally. - Food Coloring
Traditionally, the red tint came from the natural reaction between acidic ingredients and cocoa. But for a vibrant hue, a few drops of red food coloring work wonders. Gel colorings are especially effective, as they’re less likely to dilute the batter. - Cream Cheese Frosting
What’s red velvet cake without its signature cream cheese frosting? The tangy, rich topping complements the subtle chocolate flavor beautifully. For best results, use full-fat cream cheese and butter!
5 Essential Tips for the Perfect Red Velvet Cake
When it comes to baking, the little details make all the difference. Follow these tips, and your red velvet cake will turn out flawless every time.
1. Measure Accurately
Red velvet cake is all about balance. Too much flour, and you’ll end up with a dry cake. Too much liquid? Say hello to a soggy mess. We recommend weighing your ingredients for precision or using the spoon-and-level method for flour.
2. Don’t Overmix the Batter
One rookie mistake is overmixing the batter, which can lead to a dense cake. Mix until just combined, especially after adding the flour and liquid mixtures.
3. Prep Your Pans Properly
Grease and line your cake pans with parchment paper before pouring in the batter. This ensures your cake releases easily and stays intact.
4. Test for Doneness the Right Way
Yes, the trusty toothpick test works, but here’s a pro tip—look for the cake pulling slightly away from the edges of the pan. That’s when you know it’s ready to come out of the oven.
5. Cool Completely Before Frosting
Patience is key here. Frosting a warm cake is a recipe for disaster. Allow the cake layers to cool fully before slathering on the cream cheese goodness.
FAQ: Common Red Velvet Cake Questions Answered
Why Is My Red Velvet Cake Dry?
Dry cake is usually a result of overbaking or adding too much flour. Keep an eye on your baking time and measure your ingredients with care.
Can I Make It Gluten-Free or Vegan?
Absolutely! For a gluten-free version, substitute all-purpose flour with a 1-to-1 gluten-free baking mix. For a vegan take, replace buttermilk with non-dairy milk mixed with a tablespoon of apple cider vinegar, and swap eggs with flaxseed or chia seed “eggs.” The cream cheese frosting can also be made dairy-free by using vegan cream cheese and butter.
What Is the Secret to the “Velvet” Texture?
The combination of buttermilk, vinegar, and careful mixing creates the trademark velvety crumb. Skipping any of these steps may result in a denser cake.
Step-by-Step Recipe for Red Velvet Cake
Ingredients
For the Cake:
- 2 ½ cups all-purpose flour
- 1 ½ cups granulated sugar
- 1 tablespoon cocoa powder
- 1 teaspoon baking soda
- ½ teaspoon salt
- 2 large eggs
- 1 cup buttermilk
- 1 ½ cups vegetable oil
- 1 teaspoon vanilla extract
- 1 teaspoon white vinegar
- 1 tablespoon red food coloring
For the Frosting:
- 2 (8 oz) blocks of cream cheese, softened
- ½ cup unsalted butter, softened
- 4 cups powdered sugar
- 2 teaspoons vanilla extract
Instructions
- Preheat and Prep
Preheat your oven to 350°F (175°C). Grease and line two 9-inch round cake pans. - Mix the Dry Ingredients
Whisk together the flour, sugar, cocoa powder, baking soda, and salt in a large bowl. - Combine the Wet Ingredients
In another bowl, whisk the eggs, buttermilk, oil, vanilla extract, vinegar, and red food coloring until smooth. - Blend Together
Gradually add the wet ingredients to the dry mixture, stirring gently. Be careful not to overmix! - Bake
Divide the batter evenly between the prepared pans. Bake for 25-30 minutes or until a toothpick inserted in the center comes out clean. - Cool
Allow the cakes to cool in the pans for 10 minutes, then transfer to a wire rack to cool completely. - Make the Frosting
Beat the cream cheese and butter until creamy. Gradually add powdered sugar and vanilla, beating until smooth. - Frost and Assemble
Place one cake layer on a serving plate, spread frosting on top, and repeat with the second layer. Frost the cake sides and decorate as desired.
A Secret Tip You’ll Love
For an extra-moist cake, wrap your layers in plastic wrap while they’re still slightly warm, then chill for an hour before frosting. This locks in the moisture and makes the cake easier to frost!
Bake This Masterpiece Today
Red velvet cake is more than dessert—it’s an experience. With its striking color, irresistible flavor, and creamy frosting, it’s a joy to bake and share with loved ones. Whether for a birthday, anniversary, or an ordinary Tuesday, this foolproof recipe brings a touch of indulgence to any occasion. What are you waiting for? Preheat your oven and treat yourself to a slice of perfection today!


