This sweet potato pie is the quintessential dessert for any soul food celebration. The naturally sweet and rich flavors of roasted sweet potatoes take center stage in this recipe, delivering an irresistible taste and texture. Prepare it a day or two ahead to save time and enjoy its make-ahead convenience for stress-free hosting.
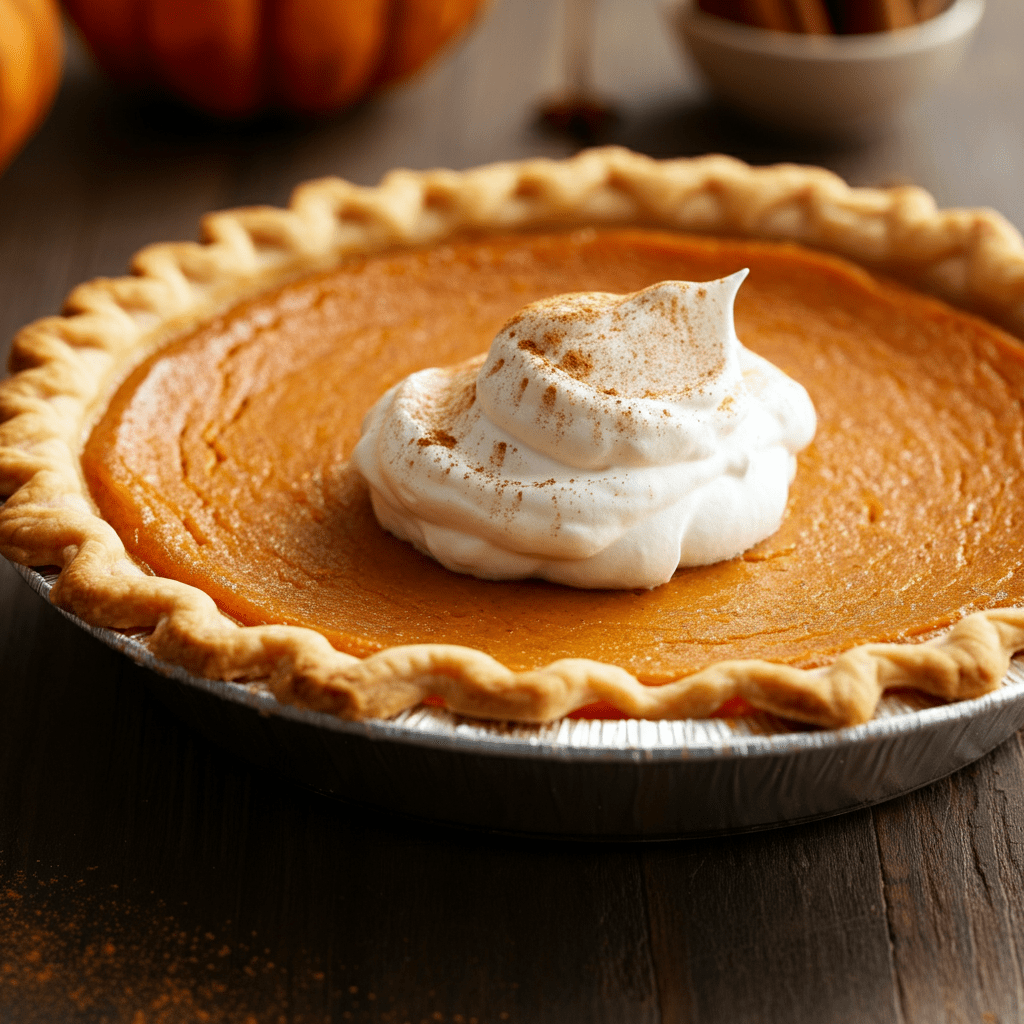
Table of Contents
Ingredients
For the Pie Filling:
- 2 medium-sized sweet potatoes (about 1 pound total)
- 1 cup granulated sugar
- 1/2 cup packed light brown sugar
- 1/2 cup unsalted butter, softened
- 2 large eggs, room temperature
- 1/2 cup evaporated milk
- 1 teaspoon vanilla extract
- 1 teaspoon ground cinnamon
- 1/2 teaspoon ground nutmeg
- 1/4 teaspoon ground ginger
- 1/4 teaspoon salt
For the Pie Crust:
- 1 unbaked 9-inch pie crust (homemade or store-bought)
Instructions
Step 1: Roast the Sweet Potatoes
- Preheat your oven to 400°F (200°C).
- Thoroughly wash the sweet potatoes and pierce them several times with a fork to allow steam to escape.
- Place the sweet potatoes on a baking sheet lined with aluminum foil or parchment paper. Roast for about 45–60 minutes, or until they’re soft and can be easily pierced with a knife.
- Cool the sweet potatoes until they’re safe to handle. Peel off the skins and discard. Mash the flesh with a fork or potato masher until smooth. Set aside 1 1/2 cups of mashed sweet potatoes for the pie filling.
Step 2: Prepare the Pie Filling
- Preheat your oven to 350°F (175°C).
- Using a hand mixer or stand mixer, cream together the softened butter, sugar, and brown sugar in a large mixing bowl.
- Add the eggs one at a time, beating after each addition until fully incorporated.
- Mix in the mashed sweet potatoes, evaporated milk, vanilla extract, and spices (cinnamon, nutmeg, ginger, and salt). Beat on medium speed until the mixture is smooth and well-blended.
Step 3: Assemble the Pie
- Place the unbaked 9-inch pie crust into a pie dish, pressing gently to ensure it fits properly. Trim any excess dough from the edges if necessary.
- Pour the sweet potato filling into the pie crust, spreading it out evenly with a spoon or spatula.
Step 4: Bake the Pie
- Bake in the preheated oven for about 55–60 minutes. The pie is done when the edges are set, and the center jiggles slightly when gently shaken (it will firm up as it cools).
- Remove the pie from the oven and cool to room temperature on a wire rack.
Step 5: Chill and Serve
- For the best flavor and texture, chill the pie in the refrigerator for at least 2 hours or overnight.
- Serve the pie as is or with a dollop of whipped cream for a classic touch.
Sweet Potato Pie Filling – Recipe Flow
Boil, bake, or steam 2 medium sweet potatoes until tender. Let cool slightly, then peel and mash until smooth. Measure out 1.5 cups of mashed sweet potato.
In a large bowl, beat the mashed sweet potatoes and softened butter together until smooth.
Beat in the granulated sugar and brown sugar until well combined.
Beat in the eggs one at a time. Then, gradually mix in the evaporated milk and vanilla extract.
Stir in the cinnamon, nutmeg, ginger, and salt until everything is just combined. Do not overmix.
Sweet potato pie filling is ready to be poured into an unbaked pie crust.
Tips for Success
- Roasting over Boiling: Roasting the sweet potatoes intensifies their natural sweetness and concentrates the flavor, making your pie taste richer. Avoid boiling, as it can water down the flavor.
- Freeze for Later: You can freeze the baked and cooled pie for up to 1 month. Wrap it tightly in plastic wrap and aluminum foil before freezing. Thaw in the refrigerator before serving.
- No Mixer? No Problem: If you don’t have a mixer, you can also combine the filling ingredients by hand with a whisk. Just ensure the sweet potatoes are mashed thoroughly to avoid lumps.
Make-Ahead Convenience
This pie can easily be made 1–2 days in advance, saving you time for the big event. Simply prepare, bake, and chill it, and it will taste even better after the flavors meld together overnight. It’s sturdy enough to slice cleanly and serve at room temperature, making it ideal for casual gatherings or events where utensils might not be readily available.
Enjoy this classic dessert that’s steeped in tradition!